
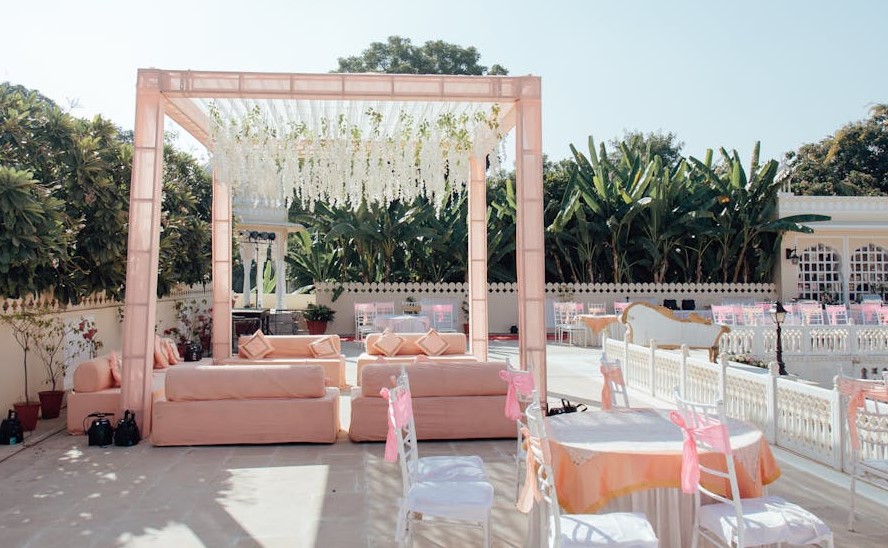
You’ve picked a date, a dress, and a song. Now you’re staring down the seating chart like it might bite. Don’t worry, this is where small decisions turn into big magic. A thoughtful layout doesn’t just make Aunt Linda happy; it shapes the mood, the flow, and the photos. When people can see, hear, and relax, they lean in. They feel part of it. That’s the goal.
Below is a practical, no-fuss guide to arranging seats so your guests feel close to your moment, and your photographer gets the good angles without gymnastics.
Start With the Story, Not the Chart
What do you want your guests to feel the second they sit down? Cozy and intimate? Open and grand? Let that answer lead. If you’re going for warmth, pull rows closer and narrow the aisle slightly so the walk feels more personal. If you want drama, create more negative space at the front so your entrance breathes. The “right” layout is the one that backs up your story.
Curves Beat Straight Lines
Posts on this site may contain sponsored content, paid link placements, or affiliate links. I may earn a commission or fee if you click a link or purchase through these recommendations at no additional cost to you.
Straight rows are easy. Curved rows are better. A gentle crescent brings the outer seats closer to the action and gives everyone a better angle on your faces. Think theater-in-the-round, but practical. If full curves aren’t possible, try chevron (two angled blocks meeting at the aisle). It’s a small tweak with a huge effect on sightlines and photos.
Create Height, Not Hurdles
Your guests don’t need a stage. They need a clean view. A low platform or even a layered rug under the arch can subtly raise your eye line so the back rows catch everything. Keep florals and décor low and to the sides; tall centerpieces and wide urns love to photobomb. And give your aisle width. It’s a runway for you and a quiet path for your photographer.
Think Like a Photographer
Your photographer hunts for great light, clear faces, and clean backgrounds. Help them help you. Place the front row far enough back that cameras can move without blocking guests. Leave a narrow “quiet lane” down one side for discreet shots. And if your venue offers panoramic views, seat the outer rows slightly forward so more people catch the backdrop in real time, your album will feel bigger, brighter, and less staged.
Comfort Buys Focus
Uncomfortable guests fidget. Comfortable guests pay attention and look great in photos. Add a little extra elbow room between chairs. Provide handheld fans or parasols outdoors, water within reach, and tissues near the front for happy tears. Indoors, keep air moving softly and skip the arctic blast. These tiny kindnesses turn a long sit into an easy one.
Make Space for Every Body
Accessibility isn’t an add-on; it’s design. Reserve integrated seating for wheelchairs and mobility aids, front and center, not off to the side. Offer aisle seats with cushions for grandparents, plus room for walkers to tuck safely. If you can, mark a few end-of-row seats for new parents who may need a quiet exit and return. When everyone is considered, everyone feels welcome.
Seat by Height, Not Just by History
Tradition says families up front. Smart seating says: yes, and then plan by height. Shorter guests and kids in the first few rows. Taller friends toward the back or on the outer edges. The result? Fewer blocked views, fewer bobbing heads, and a clear line to your faces from every seat. It’s considerate, and it reads beautifully on camera.
Choreograph the Moments
Treat the ceremony like a sequence. Where do vows happen? Where will you sign, pour, tie, or light? Place that table to one side, slightly angled toward your guests. Practice the ring exchange so hands tilt toward the audience. Hold the kiss for two beats (it feels long; it looks perfect). Then step halfway into the aisle for the cheer shot that captures the whole room.
Assign a Layout Captain
On the day, someone needs to know the plan. Hand a simple diagram to a point person, planner, venue coordinator, or that hyper-competent friend. Mark row angles, aisle width, mic placement, and where any special seats live. Good intentions wilt without execution. A one-page plan keeps the room aligned while you focus on each other.
Test It Like a Pro
Do a 60-second walk-through with stand-ins the day before. Record from the very back row. Can you see faces? Does the light flatter or wash out? Are aisles wide enough for smooth movement? Move a chair here, nudge an angle there. Micro-adjustments pay off in macro ways when the room is full and emotions are high.
Bottom line: A joyful seating plan is part hospitality, part stagecraft. When you design for sight, light, comfort, and flow, your guests stop being an audience and become participants. That’s when the ceremony lands on hearts, and in photos, for all the right reasons.
