
Light therapy has become increasingly popular for its skin-enhancing benefits. With various colors and techniques available, it offers a versatile approach to achieving glowing skin. Utilizing specific wavelengths can help address a range of skin issues, including acne, aging, and inflammation. Below are six tips that can help you incorporate light therapy into your skincare routine effectively.
Choose the Right Type of Light
Posts on this site may contain sponsored content, paid link placements, or affiliate links. I may earn a commission or fee if you click a link or purchase through these recommendations at no additional cost to you.
To achieve the best results, choose the right type of light therapy for your specific skin concerns. Each type of light emits different wavelengths that affect the skin in various ways. Blue light is known for its antibacterial properties, making it effective in treating acne. On the other hand, red light has gained acclaim for its ability to promote collagen production and enhance skin elasticity. When selecting a device, consider those that emit specific wavelengths, which can penetrate the skin’s deeper layers. Opt for a multifunctional solution like Infraredi light therapy devices, which provide customizable modes to reduce wrinkles, treat acne, and enhance overall skin radiance. From boosting elasticity to diminishing redness, these devices are designed to rejuvenate your complexion effortlessly.
Develop a Consistent Routine
Consistency is paramount for light therapy treatments: establishing a routine allows your skin to adapt and respond better to the treatments. Aim to incorporate light therapy into your skincare regimen several times a week.
Start with two to three sessions weekly and assess how your skin reacts to the therapy. Over time, as you observe positive changes, you can gradually increase the frequency. Many people find morning treatments invigorating, while evening sessions can be soothing, helping to wind down from daily stressors. Remember to follow the manufacturer’s instructions on duration and frequency for optimal results. When you maintain consistency, you’ll likely see improvements in texture, tone, and overall skin health over time.
Prepare Your Skin Before Treatment
Preparing your skin before a light therapy session can enhance its effectiveness. First, clean your skin with a gentle cleanser to remove dirt, oil, and makeup. This step allows the light to penetrate more effectively without barriers. After cleansing, consider applying a thin layer of a quality serum that complements your treatment.
Hyaluronic acid can boost hydration, whereas antioxidants like Vitamin C can enhance the therapeutic effects. Allow your skin to absorb these products for a few minutes before starting the therapy session. Avoid applying heavy creams or oils, as these may create a barrier that impedes the light’s penetration. After your session, apply a soothing moisturizer to lock in moisture and support recovery. These preparatory steps help maximize the potential benefits of light therapy and contribute to a more radiant complexion.
Understand Treatment Duration and Distance
Each device may have different guidelines regarding how long and how close you should position it to your skin. Generally, sessions can last anywhere from 10 to 30 minutes. If your device is designed for home use, refer to the user manual for recommendations.
Keeping an adequate distance is equally important; being too close could lead to overheating and being too far may reduce effectiveness. For red light treatment, maintaining 6 to 12 inches between the device and the treatment area is common for effective absorption. Even experiment with different distances to yield different sensations. Find the right balance, and you’ll maximize the wavelengths’ absorption, thereby allowing your skin to garner the most benefits possible.
Protect Your Skin Post-Treatment
After each session, your skin may be more sensitive, so you want to protect it afterward. Post-treatment care can make a significant difference in how your skin responds in the following days. Gently wash your face again to remove any residual product or impurities. Apply a broad-spectrum sunscreen, even if you plan to stay indoors, as UV rays can still penetrate glass and cause harm.
Give your skin some time to recover by avoiding harsh chemicals, vigorous scrubbing, and exfoliation for at least 24 hours after treatment. Hydration will be vital during this recovery period. Opt for soothing products that foster healing, such as aloe vera or calming masks. You can fortify your skin’s resilience and maximize the longevity of the benefits obtained from light therapy.
Monitor and Adjust Your Routine
Last but not least, monitor your skin’s response to light therapy and make necessary adjustments. Individual skin types will react differently, so pay attention to changes in texture, tone, and any adverse reactions. Keep a journal to record your treatments, as well as any noticeable improvements and setbacks.
If you find your skin feels too sensitive or irritation occurs, consider reducing the frequency or duration of sessions. Conversely, if your skin responds positively, you may explore complementary treatments or increase session frequency. Consult with a dermatologist periodically to provide professional guidance tailored to your skin’s unique needs. They can recommend specific light therapy treatments to optimize your skincare results. Keep an open line of communication with your skincare professional so that your routine remains effective and safe, enabling your skin to thrive over time.
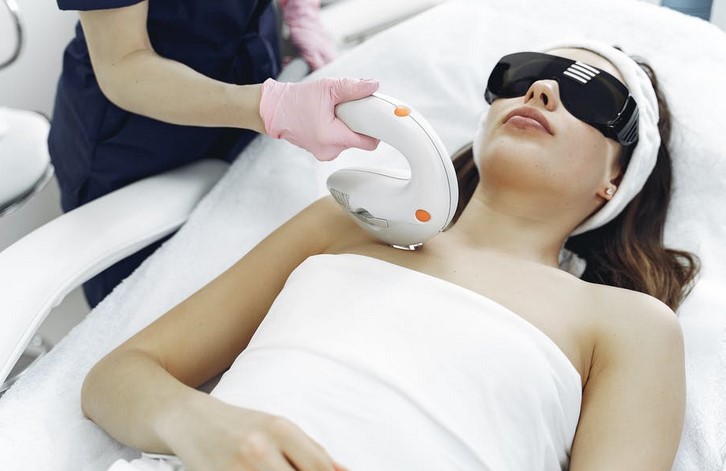
Incorporating light therapy into your skincare routine can lead to significant improvements in skin health and appearance. By choosing the right treatment, developing a consistent routine, preparing properly, monitoring results, and practicing proper post-treatment care, you pave the way for radiant and rejuvenated skin.
